How to Apply Mascara Without Clumps: 6 Pro Tips
What dark magic binds those tiny fibers together like chains? Make every lash count with our tips on avoiding mascara clumps
Updated December 14, 2023.

According to Statista, mascara is the leading eye cosmetics product and an essential piece of a flawless makeup routine. But have you ever applied it, only for it to look like a bunch of cobwebs on your eyes?
You can spend those precious minutes meticulously separating each clump, but they will reunite in a mascara mosh pit the moment you blink. The frustration is real, the struggle is palpable, and we have the solution.
» Test various up-and-coming brands with the best beauty subscription boxes
6 Steps to Apply Mascara Correctly
- Prepare Your Lashes with Primer
- Start at the Base
- Apply Mascara to Bottom Lashes
- Prevent Drooping With a Curler
- Apply Powder
- Remove the Product Gently
1. Prepare Your Lashes With Primer
While this step isn't essential, you can try an eyelash makeup primer as a base. It adds volume and prolongs wear. The product also works well with shorter lashes, boosting the base and making them appear longer.
» Wish your makeup would last longer? Discover the power of primer
2. Start at the Base
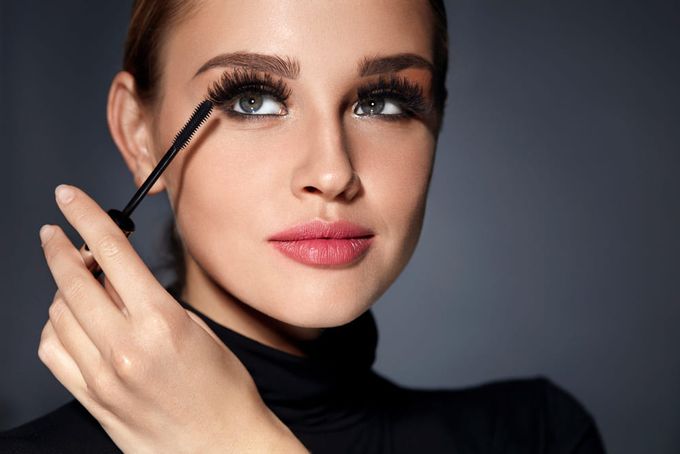
Begin by focusing on the base of your lashes. Wiggle the brush through them to separate and lengthen them. This simple first step is essential for a great mascara application, opening your eyes and leaving you feeling fresh.
3. Apply Mascara to Bottom Lashes
When applying mascara to your bottom lashes, use the minimum product required to define them. Hold the wand vertically to coat from root to tip instead of the horizontal motion you used with the upper ones. The technique gives you more control and prevents smudging.
Tip: If you're mature, apply concealer underneath your bottom lashes to brighten the area and add definition.
» Discover the best makeup brush for applying flawless concealer
4. Prevent Drooping With a Curler
While their appearance and design can be intimidating, eyelash curlers can open your eyes and prevent dropping after applying mascara. Think of it as a mini-perm that lifts the lashes and improves the look.
5. Apply Powder After Mascara
Lightly apply powder before and after mascara to prevent smudging or transferring to the under-eye area. Wait for the product to dry before completing your makeup routine to avoid transferring it onto the upper and lower lids.
Tip: Waterproof mascara can prevent smudges and last throughout the day. You can find one that is easy to remove and works for your lashes.
» Find a beauty box for every budget with Ipsy alternatives
6. Remove the Product Gently
To remove mascara without causing damage to your lashes, dip a cotton pad in micellar water and let it sit on your eyes for about 90 seconds. Then, gently sweep it over your eyes to remove the makeup.
Choosing the Perfect Mascara Wand
Choose a wand with spaced-out bristles for a natural daytime look. It'll add length and separation without going overboard. Silicone bristles are generally smoother and more flexible, making them less likely to clump lashes. If you want to add volume, nylon material is your best bet.
» Want to improve your makeup look? Find the perfect eyeshadow for your eye color
Unlock Professional Lashes
A mascara tube can transform your eyes, lengthening, volumizing, and defining your lashes for a dramatic or delicately enhanced look. Remember, even your favorite one has a lifespan, so replace it after three to six months to prevent bacteria growth.
Practice makes perfect, so test different products and find the best. To discover the ideal mascara for your makeup bag, consider experimenting with a Klever Beauty Box subscription for only $29/month.
