When blush is not applied correctly, it can age you or make your features appear harsh. However, when done expertly, it enhances your beauty with just a few brush strokes.
This guide will help you pinpoint where and how to apply blush based on your face shape.
An incorrectly positioned blush can spoil a flawless makeup look. On the other hand, strategic application can define, lift, and brighten your complexion.
The key is understanding where to place your blush depending on your face shape. You wouldn’t put blush in the same spot on a round face as on a heart-shaped face. This small difference can make a significant impact.
This seemingly simple makeup step involves a delicate play of volume. Yet, clear instructions about it are surprisingly rare. So, here’s the essential guide to avoid missteps that might haunt your party photos.
Customizing Your Blush to Complement Your Face Shape: The Mistake Everyone Makes
We’ve all seen tutorials proclaiming that blush should be applied high and swept diagonally toward the temples. However, this “one-size-fits-all” approach may not suit every face.
Each face features unique aspects, and the areas to emphasize differ from one individual to another. The crucial aspect is to grasp the desired optical effect you want to achieve: lengthening, narrowing, softening, or structuring your features.
The reason behind this? Blush does more than just add a glow; it reshapes the face through visual tricks. If applied poorly, it can widen a jawline, highlight already slim cheeks, or drag down your features.
Conversely, applied thoughtfully, it can rejuvenate the face, add brightness, and create an uplifting effect.
Before reaching for your blush brush, spend a couple of moments identifying your face shape: oval, round, square, heart, or elongated. This crucial step can transform your makeup application.
Choosing the Right Blush for Your Face: The Must-Have Morphology Guide
Here are the focal zones for applying blush based on your face shape. Keep in mind: always use upward strokes for lifting and select placements that harmonize your face volume.
- Round Face: To create a more refined look, apply blush subtly beneath the cheekbones, sweeping toward the temples. Steer clear of the apples of your cheeks, as this could amplify roundness.
- Oval Face: Lucky you! Almost any blush style works. Focus on the upper cheekbones in a “C” shape towards your temples for a natural, healthy glow.
- Square Face: To soften the sharp angles, place blush on the tops of the cheekbones while slightly moving toward the center. The aim is to create smooth, gentle contours.
- Heart-Shaped Face: Given your wider forehead, apply blush low on the cheeks and skip the temples—this helps balance out a narrower jawline.
- Elongated Face: To mitigate an overly stretched appearance, apply blush horizontally in the middle of the cheeks and avoid lifting it too high.
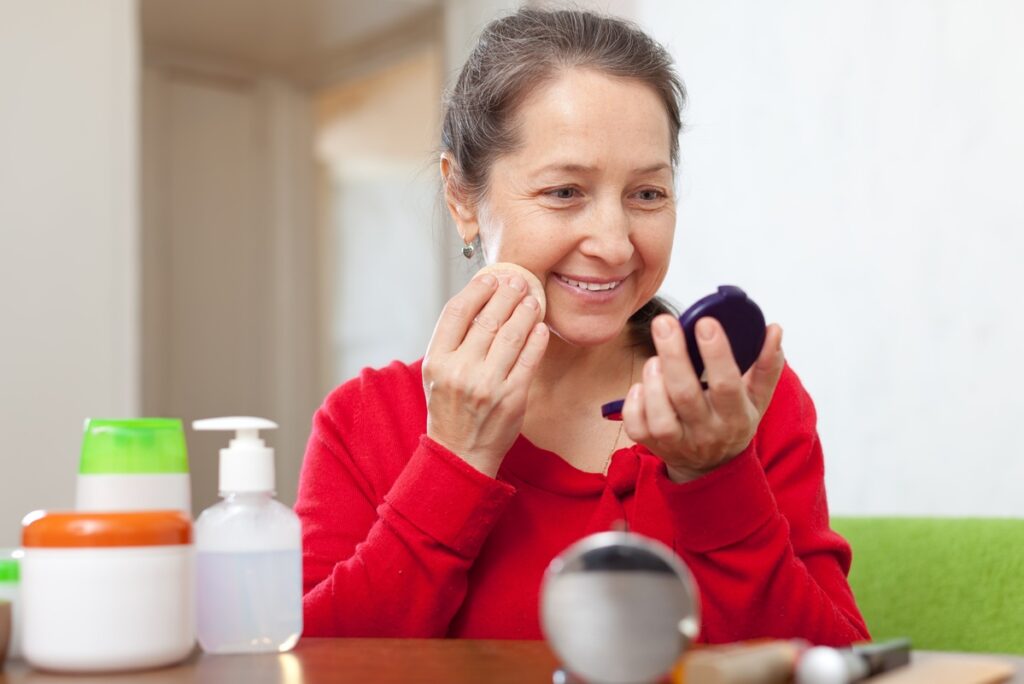
Take note of the texture as well. For mature skin, creamy blush formulas are recommended to minimize the appearance of fine lines. For combination or oily skin, opt for long-lasting powder blushes.
And for a truly natural finish? Always blend upwards, avoiding downward strokes.
Avoiding Common Mistakes (and Pro Strategies to Prevent Them)
If you’ve ever ended up with unsightly patches of color on your cheeks, you’re certainly not alone. This is one of the most frequent errors: applying too much product in one go without blending or adjusting the tone.
Be wary of these additional pitfalls:
- Using brushes that are either too small or dense can lead to concentrated color rather than a blended finish.
- Selecting a blush shade that contrasts too sharply with your skin tone can be off-putting.
- Applying blush after setting your foundation with powder can hinder effective blending.
One final pro recommendation? Always apply your blush in natural light, preferably by a window. Artificial lighting can distort how colors appear and affect placement. If in doubt, give a gentle smile; this will lift your cheekbones and reveal the precise area to apply your blush.
Image Credit: @pinterest